Key takeaways
- Keyframe/multi-point programming: Lets you set several stop points and speeds along the rail rather than one straight pass, which is what creates the classic parallax time-lapse look.
- Camera trigger sync: The slider should be able to trigger your camera’s shutter (via cable or app) in sync with its movement steps, rather than you manually timing shots.
- App or wireless control: Smartphone app control lets you preview the motion path and adjust speed/distance without re-cabling, useful for long overnight sessions set up once and left alone.
- Battery life: Multi-hour time-lapses need a slider rated for the full shoot length; check the maker’s stated runtime, and plan to carry a backup battery or power bank for sessions beyond a few hours.
- Payload capacity: Confirm the stated max payload covers your camera plus lens, especially for larger mirrorless or DSLR bodies with heavy telephoto glass.
Hobbyist time-lapse shooters moving a camera over hours or days should prioritize a slider with app-controlled keyframing and a long rail (32 inches or more), while studio product shooters doing short motion-control clips can get by with a compact 12-18 inch slider and simpler single-speed control. The deciding factors are travel distance, control precision, and whether the slider supports multi-axis motion (pan/tilt) alongside linear movement.
As an Amazon Associate, we earn from qualifying purchases made through links on this page.
What a Motorized Slider Adds Over a Manual One
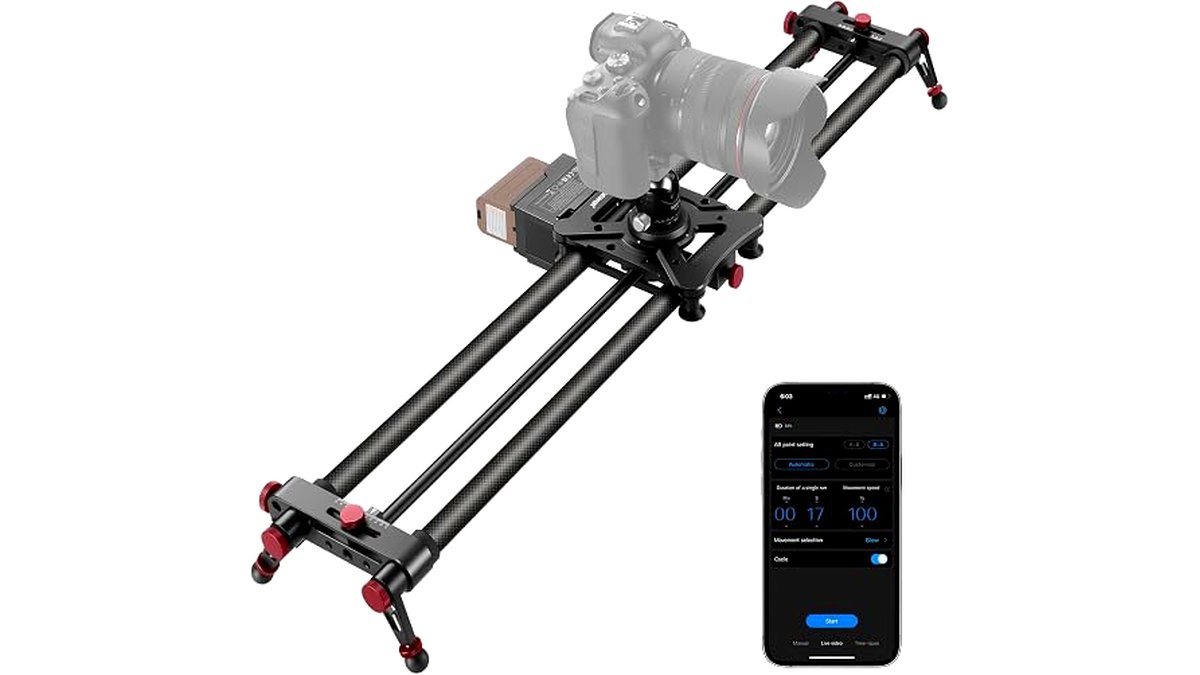
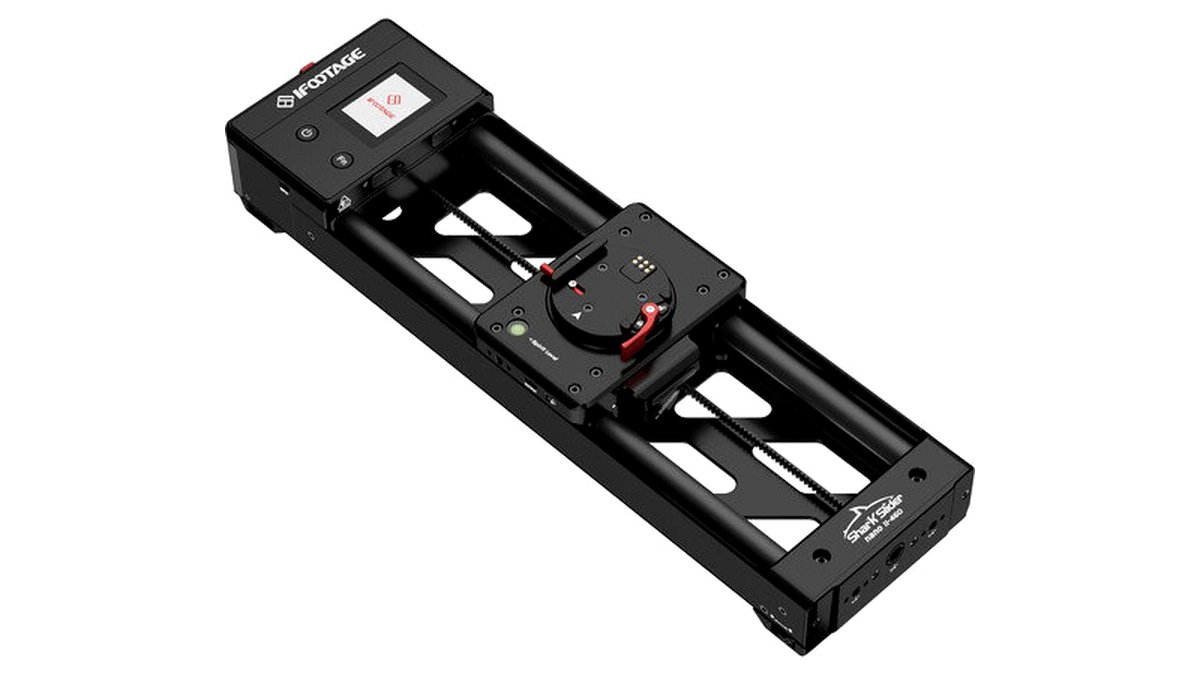
A manual slider only helps during a single pass of real-time footage. For time-lapse, you need the carriage to move in small, repeatable increments between shutter clicks over minutes or hours, which requires a stepper motor, a controller, and typically an app or dedicated remote. The maker’s own specs typically list the type of motion control offered: basic point-A-to-point-B linear moves, multi-keyframe paths, or full motion-control with pan and tilt synced to the slide.
Core Features That Matter for Time-Lapse
- Keyframe/multi-point programming: Lets you set several stop points and speeds along the rail rather than one straight pass, which is what creates the classic parallax time-lapse look.
- Camera trigger sync: The slider should be able to trigger your camera’s shutter (via cable or app) in sync with its movement steps, rather than you manually timing shots.
- App or wireless control: Smartphone app control lets you preview the motion path and adjust speed/distance without re-cabling, useful for long overnight sessions set up once and left alone.
- Battery life: Multi-hour time-lapses need a slider rated for the full shoot length; check the maker’s stated runtime, and plan to carry a backup battery or power bank for sessions beyond a few hours.
- Payload capacity: Confirm the stated max payload covers your camera plus lens, especially for larger mirrorless or DSLR bodies with heavy telephoto glass.
Slider Length and Portability
| Rail Length | Best For | Trade-offs |
|---|---|---|
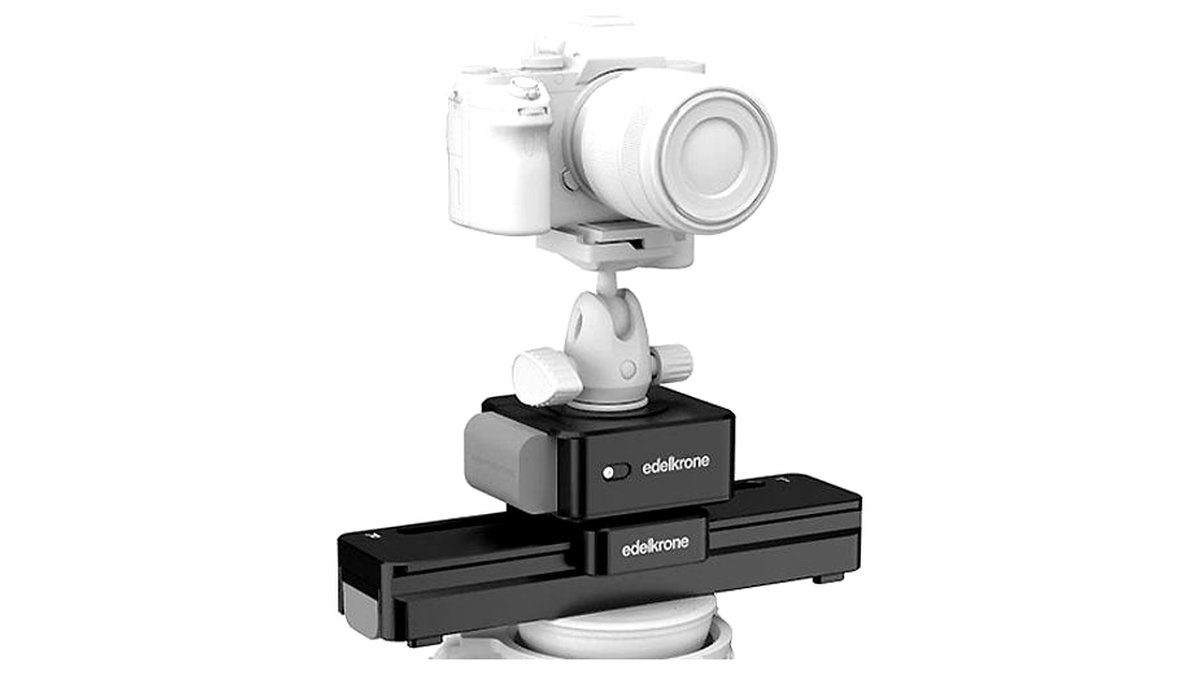
| Compact (10-18 in) | Product photography, travel, tabletop time-lapse | Short travel distance limits dramatic parallax |
| Mid (24-32 in) | Most landscape and interior time-lapse work | Balances portability with usable travel distance |
| Long (40+ in, often modular/carbon fiber) | Dramatic parallax shots, architectural and landscape time-lapse | Heavier, needs a sturdy tripod or two support points, harder to pack |
Motion Control: Linear vs Pan-Tilt Combo
Basic motorized sliders only move the carriage along the rail. Motion-control sliders add a geared head that pans and/or tilts in sync with the slide, letting the camera track a subject while it travels—useful for time-lapses where the foreground subject stays framed while the background shifts. If you shoot mostly static wide scenes, linear-only is simpler and cheaper to operate; if you want subject-tracking or orbit-style time-lapses, confirm pan/tilt sync is specifically supported, not just an add-on head bolted to a basic slider.
App Control and Programming Depth
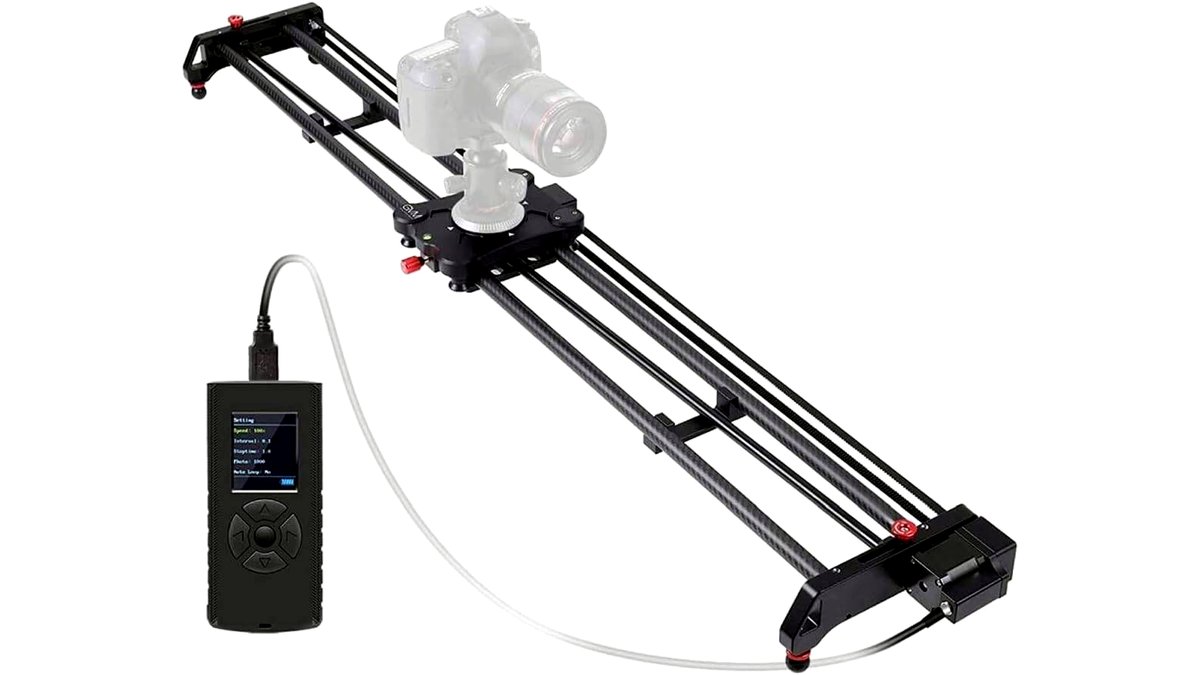
Entry sliders often ship with a physical controller offering a handful of presets. Higher-end sliders pair with a companion app that lets you set multiple keyframes, ease-in/ease-out curves, and total shoot duration, then calculates the per-shot movement automatically based on your chosen interval and frame count. For long overnight or multi-day time-lapses, app control that lets you double-check settings remotely (or at least verify the path before walking away) reduces the risk of a ruined shoot discovered only after returning.
Power and Runtime for Long Sessions
Battery-powered sliders are more portable but have a hard runtime ceiling; always compare the maker’s stated hours against your planned shoot length with margin for colder outdoor temperatures, which reduce battery output. Sliders with a DC power input let you run them from a power bank or wall adapter for all-night or multi-day time-lapses, which is often the deciding feature for serious time-lapse shooters over casual ones.
Pick X If…
| If you… | Choose |
|---|---|
| Shoot mostly tabletop/product time-lapses indoors | Compact linear slider with basic app control |
| Want dramatic landscape parallax over hours | Mid-to-long rail with multi-keyframe programming and DC power option |
| Need subject tracking while the camera slides | Motion-control slider with synced pan/tilt head |
| Travel frequently and need to pack light | Compact or modular carbon-fiber rail under roughly 20 inches |
Compatibility Notes
Check the stated max payload against your actual camera-plus-lens weight, not just body weight, since long telephoto lenses can tip a slider’s rated capacity even if the body alone is light. Confirm the mounting plate is compatible with your camera’s tripod thread or existing quick-release system, and verify the slider’s own tripod mount matches the tripods you already own, or budget for a compatible tripod or two support legs for longer rails.
Alternatives Worth Considering
- Standalone intervalometers: If you already own a static tripod head, a motorized pan-tilt head or a simple intervalometer paired with manual repositioning can approximate basic time-lapse motion at a fraction of the cost and complexity.
- Multi-axis motion control rigs: For professional product or architectural time-lapse work, a dedicated multi-axis motion-control rig (slider plus independent pan/tilt/focus motors) offers far more creative control than a slider alone, at a higher cost and setup time.
- Drone-based time-lapse: For large-scale landscape or construction time-lapses, a drone with a fixed hover point can substitute for a slider entirely, trading portability for aerial perspective.
Setting Up a Reliable Multi-Hour Shoot
Before leaving a slider running unattended for hours, run a short test pass at the planned speed and interval to confirm the motion looks smooth and the shutter sync is firing correctly, since discovering a setup mistake after an eight-hour overnight shoot wastes the entire session. Secure the tripod or support legs on stable, level ground, weigh down the legs in windy outdoor locations, and double-check cable connections or app pairing one more time before walking away. For unattended outdoor shoots, also consider weather resistance; most sliders are not rated for rain or heavy condensation, so an unexpected shower can damage electronics left exposed overnight.
Frequently Asked Questions
How long of a rail do I actually need for time-lapse work?
For most landscape and interior time-lapse shots, a 24-32 inch rail provides enough travel to create visible parallax without becoming unwieldy to transport. Go longer only if you specifically want dramatic foreground-to-background movement across the full frame, since longer rails add weight and setup time.
Can any motorized slider do time-lapse, or do I need a special mode?
Not every motorized slider supports the stop-start, multi-keyframe movement that time-lapse requires; some are built only for smooth continuous real-time motion. Check that the manufacturer specifically lists a time-lapse or intervalometer mode before buying if that’s your primary use.
Do I need the slider to trigger my camera, or can I use a separate intervalometer?
Either works. Some sliders sync shutter triggering with carriage movement automatically via a cable or app, while others simply move on a schedule and expect you to run a separate intervalometer on the same interval. If you want the simplest single-app workflow, confirm camera-trigger sync is built in.
How much battery life do I need for an overnight time-lapse?
Check the maker’s stated runtime against your total planned shoot duration, and add margin since cold outdoor nights reduce battery output. For sessions longer than the stated battery life, choose a slider with a DC power input so it can run from an external power bank.
Will a heavier camera and lens combo slow down or strain the slider motor?
Operating near or above the stated maximum payload can cause uneven movement, motor strain, or shortened motor lifespan. Confirm your camera-plus-lens weight against the maker’s published payload rating with some margin, especially for heavy telephoto setups.
Is a motion-control slider with pan/tilt worth it over a basic linear slider?
It depends on your subject matter. For static wide scenes like landscapes or skylines, a basic linear slider is simpler and usually sufficient. For shots where you want the subject to stay framed while the camera travels, a synced pan/tilt motion-control slider is the only way to achieve that effect reliably.